Time frames
The rescuer can choose to give availability according to time, area and group.
Before we begin, we would like to tell you
Do not hesitate to contact us if you have any doubts
N.B.
By enabling "Select all areas" you will not be able to indicate your availabilities and thus create time frames.
By disabling "Select all areas" you will be able to display the areas you want to select and thus create time frames.

01.
Log in and click on the user icon at the top left of the home page.


02.
In the settings click on Groups and areas.
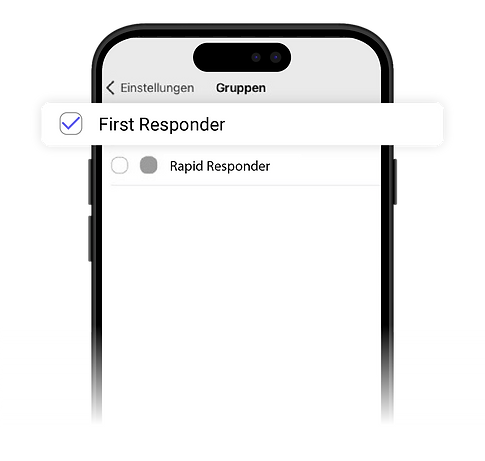
03.
Select the groups for which you wish to be alarmed by ticking the box to the left of the group.

04.
For each selected group, select the areas for which you want to make yourself available.
A group must necessarily have associated zones (but they cannot all be selected, otherwise it is not possible to create a time frame for this group)
05.
Now go back to settings and click on the 'time frame' section.


06.
If I have selected at least one group with at least one area ("Select all areas" must be disabled), a message will be displayed informing me that I can create time frames.
Click on the '+' icon to create a new time frame.
07.
Specify days and times when I am available:
-
Select the days for which you want to be available
-
Select the times for which you want to be available or "all day"
Time frames summarising your availability will appear below.


08.
Select groups and areas to associate with the time frame.
Save the new time frame.
09.
Now in settings, in the time frames section, you will have a summary of all your availabilities.
You can delete a timeframe by tapping on the recycle bin icon or edit it by tapping on its row.


10.
If you want to temporarily disable all your time frames, go to settings and disable the alerting item.
Your availabilities will not be deleted, but you will not be alerted until you re-enable the item.